Easy Homemade Scones: Classic British Tea Time Treat

Make your tea time special with homemade scones. These classic British treats are loved for their buttery, flaky taste. They’re perfect as a snack, breakfast, or with your favorite hot …
Make your tea time special with homemade scones. These classic British treats are loved for their buttery, flaky taste. They’re perfect as a snack, breakfast, or with your favorite hot …

Perfect Cream Cheese Frosting Recipe | Easy & Creamy Indulge in the ultimate decadence with our foolproof cream cheese frosting recipe. This homemade frosting boasts a luscious, creamy texture. It …
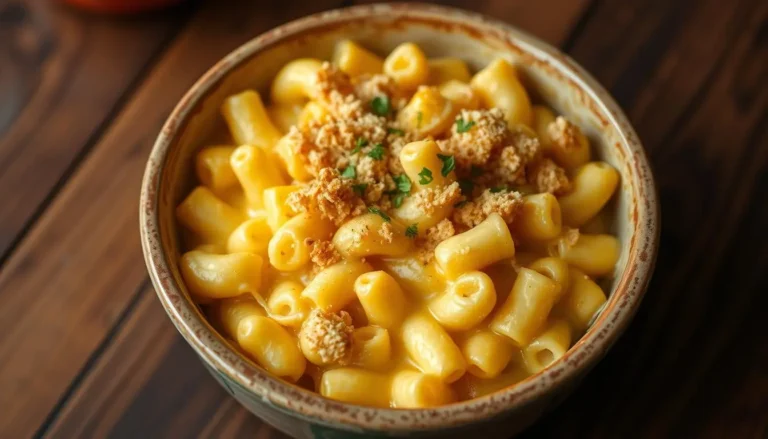
Indulge in the ultimate comfort food with this creamy homemade mac and cheese recipe. Get ready to be amazed by the rich, velvety cheese sauce. It coats every bite of …

Make your seafood dishes shine with a homemade tartar sauce in just 5 minutes. Ditch the store-bought stuff and create your own. You can adjust the flavors to your heart’s …
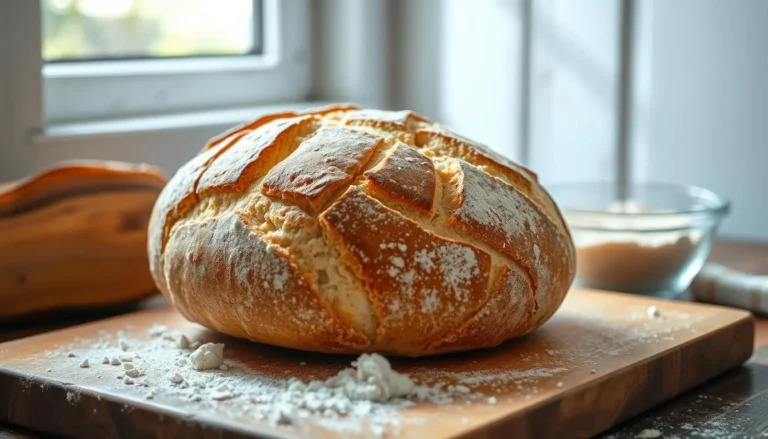
Baking sourdough bread recipe at home is a fun and rewarding hobby. This guide will show you how to make the perfect sourdough loaf. You’ll learn how to create a …

Indulge in the rich, velvety embrace of classic Chicken Alfredo. This beloved Italian-American dish has won hearts around the world. It combines tender chicken, al dente pasta, and a silky …

Families today want meals that are quick and tasty. Chicken is perfect for this because it can be used in many different ways. These 30-minute chicken recipes are great for …

Chicken breasts are a great source of protein and can be made into many tasty dishes. This guide will help you improve your chicken cooking skills. You’ll find easy recipes, …

When it gets cold and the days are short, nothing beats a warm beef stew. This classic recipe is a great way to fight off winter’s chill. It’s a hearty, …
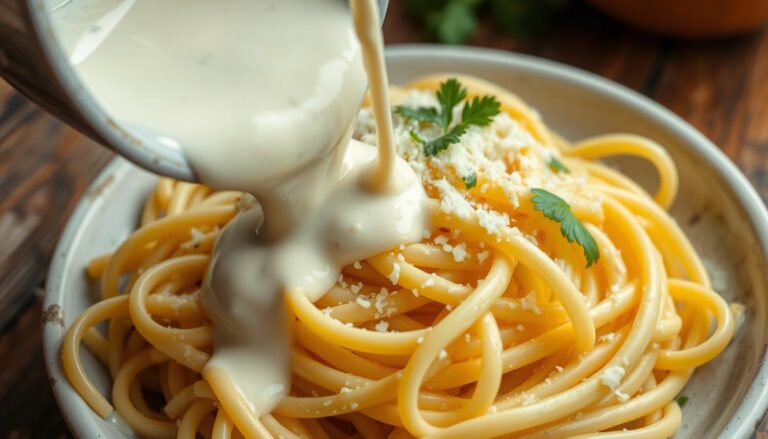
Enjoy the rich, creamy taste of authentic Italian cuisine with our easy homemade Alfredo sauce recipe. Made with simple, top-quality ingredients, it’s ready in just 20 minutes. It’s perfect for …