Indulge in Chocolat: History, Recipes, and Health Benefits
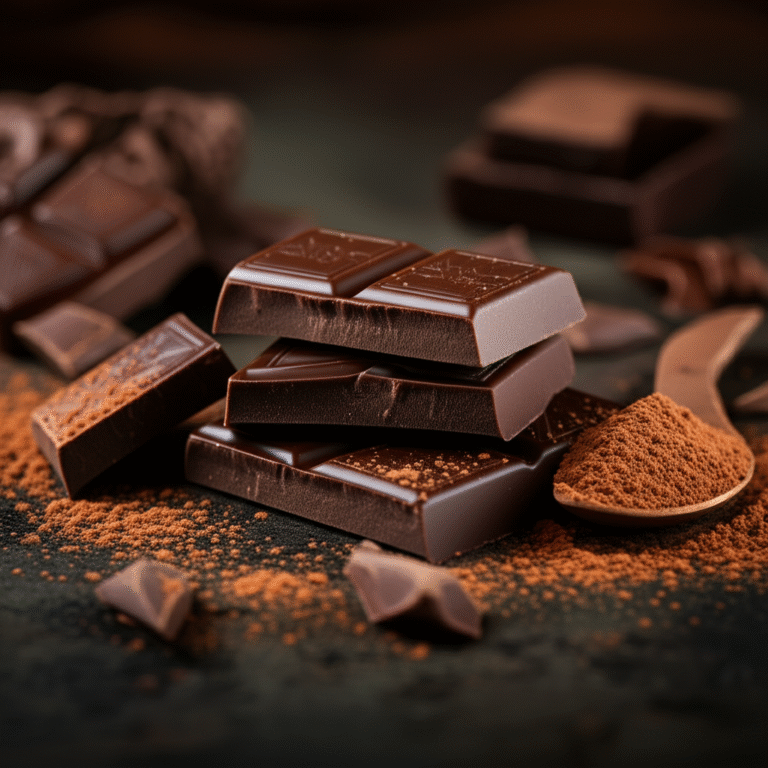
Chocolat, often referred to as the food of the gods, has a rich history and an irresistible appeal. Its versatility allows it to grace a wide array of dishes, from …
Discover Delightful Dessert Recipes
Indulge in the sweetness of life with Recipes Plan! From classic treats to trendy creations, our curated dessert recipes offer step-by-step guides to satisfy every sweet tooth. Perfect for home bakers and dessert enthusiasts, these easy and irresistible recipes are your go-to for creating magical moments. Explore now and make every occasion sweeter!
Chocolat, often referred to as the food of the gods, has a rich history and an irresistible appeal. Its versatility allows it to grace a wide array of dishes, from …
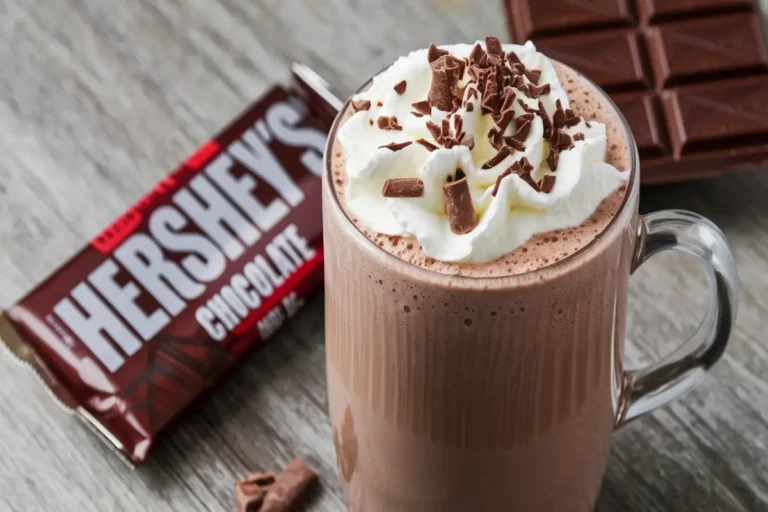
Why Make Your Own Hershey’s Cocoa Powder Hot Chocolate for One? Cost-Effective and Fresh Homemade hot cocoa is much cheaper than pre-packaged mixes. With a few simple ingredients, you can …

Enjoy a tasty breakfast with our simple, milk-free pancake recipe. It’s great for those with dairy allergies, lactose intolerance, or who follow a plant-based diet. These fluffy, eggless pancakes are …

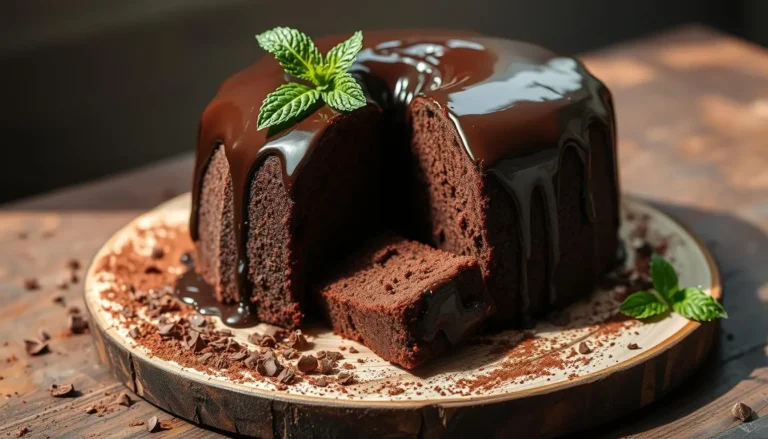
Indulge in the rich, moist goodness of a perfectly-portioned small chocolate cake. It’s ideal for satisfying your sweet tooth without the guilt. This quick and easy recipe is designed for …
Indulge in the rich, moist, and irresistible flavors of the best chocolate pound cake recipe. This classic homemade dessert is a true crowd-pleaser, perfect for any occasion. With its deep …
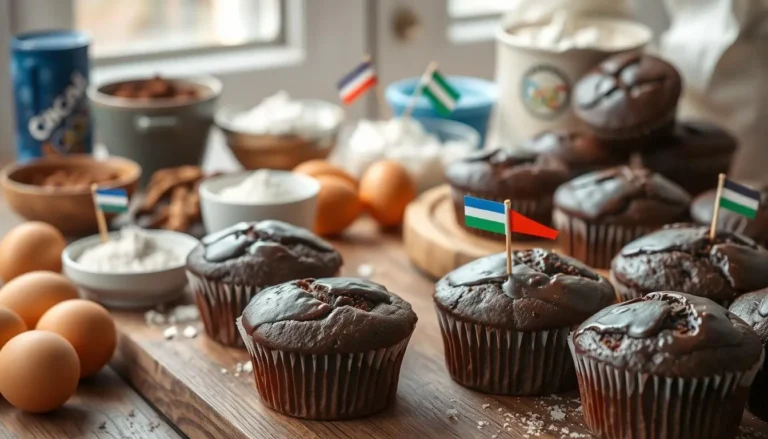
Try the famous Olympic Village chocolate muffins, loved by top athletes worldwide. These treats are easy to make with simple ingredients and bake in just 30 minutes. They are perfect …
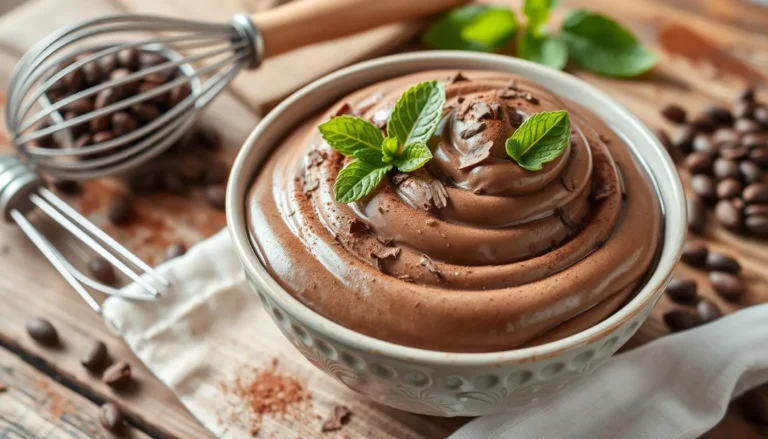
Indulge in the velvety richness of homemade chocolate mousse, a classic French dessert. It’s surprisingly simple to prepare. This luscious treat will elevate any occasion, from casual gatherings to special …
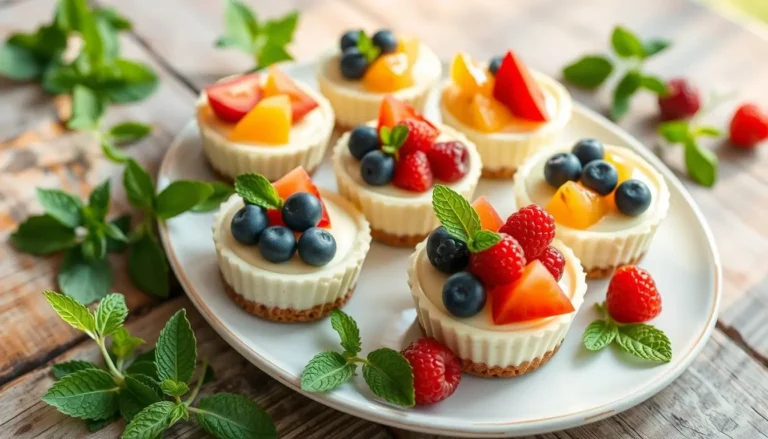
Indulge in the creamy, smooth deliciousness of no-bake mini cheesecakes – the perfect summer treat! These delightful desserts offer a hassle-free way to enjoy the classic cheesecake flavor without the …

Welcome to the ultimate homemade carrot cake recipe! This classic dessert is a true delight. It boasts a moist and flavorful texture that will captivate your taste buds. Whether you’re …
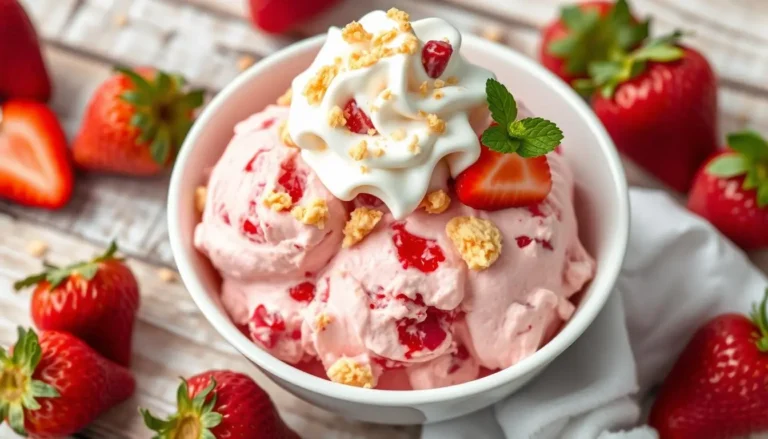
Indulge in the ultimate summer treat with our homemade Strawberry Shortcake Ice Cream. It’s a creamy, frozen delight that captures the essence of the classic strawberry shortcake dessert. Made with …