Perfect Pecan Pie: Recipes, Tips, and Variations
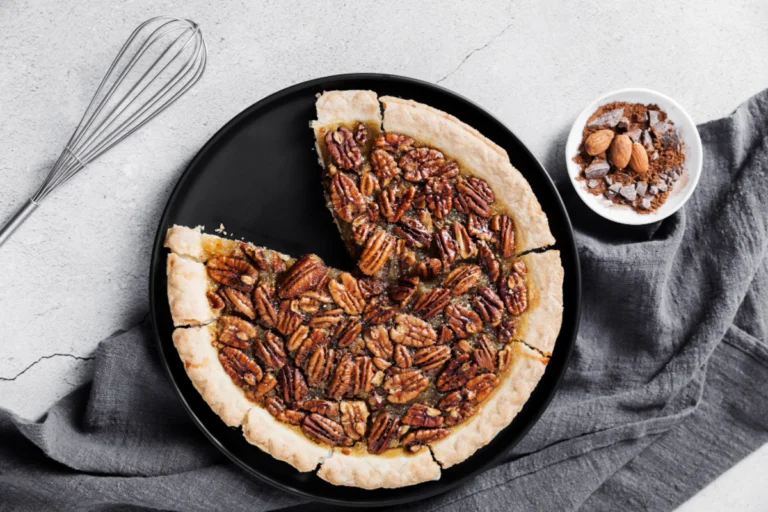
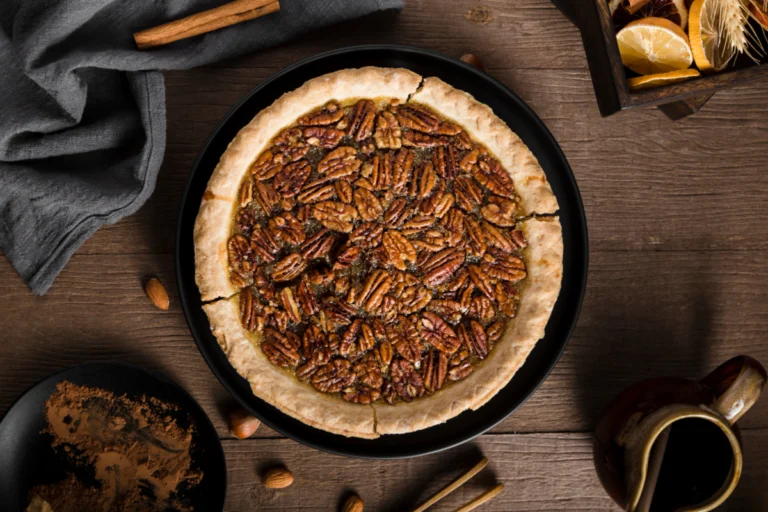
Pecan pie is a quintessential American dessert known for its rich, nutty flavor and gooey, buttery texture. This classic pie consists of a filling made from pecans, eggs, butter, and …
Discover Delightful Dessert Recipes
Indulge in the sweetness of life with Recipes Plan! From classic treats to trendy creations, our curated dessert recipes offer step-by-step guides to satisfy every sweet tooth. Perfect for home bakers and dessert enthusiasts, these easy and irresistible recipes are your go-to for creating magical moments. Explore now and make every occasion sweeter!
Pecan pie is a quintessential American dessert known for its rich, nutty flavor and gooey, buttery texture. This classic pie consists of a filling made from pecans, eggs, butter, and …
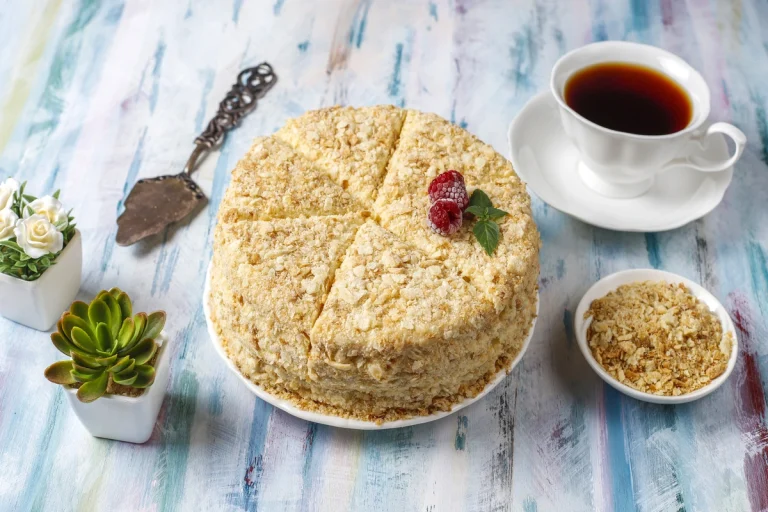
Introduction Pecan cream pie recipe, a delightful fusion of rich flavors and creamy texture, holds a revered spot in the culinary traditions of many cultures, particularly in the Southern United …
Introduction Crumbl Cookies has swiftly risen to prominence as a beloved destination for cookie aficionados across the globe. Founded on the principle of delivering freshly baked, gourmet cookies straight to …
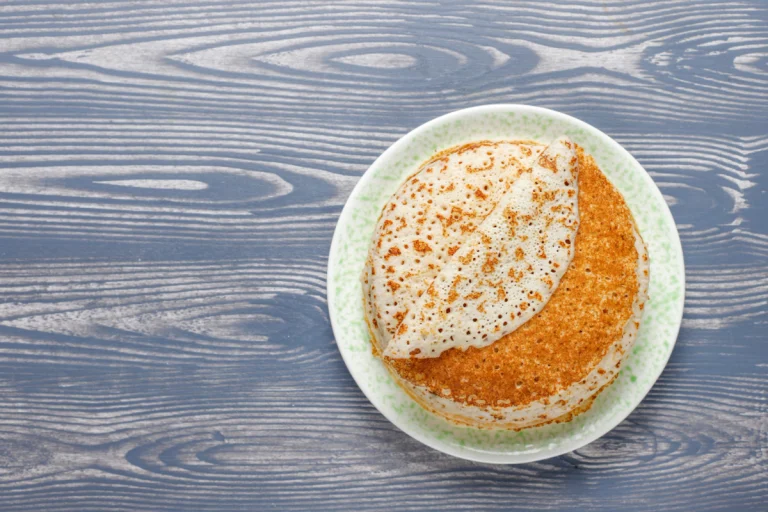
Introduction Dutch Baby Pancakes, also known as German pancakes, are a heavenly breakfast delight that transcends the ordinary pancake experience. Originating from Germany, these fluffy, oven-baked creations have found a …
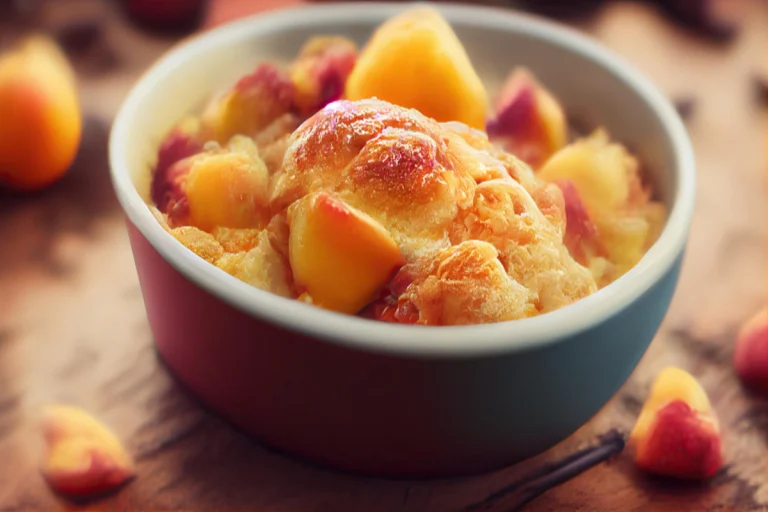
Introduction Peach Cobbler with cake mix is a dessert that marries the simplicity of a cake mix with the rich, comforting flavors of traditional peach cobbler. This dish is celebrated …
Introduction Banana bread is a beloved comfort food enjoyed by many, offering the perfect balance of sweetness and moisture. However, when topped with the right glaze, this classic treat transforms …
Introduction Rice cakes, a staple in many diets worldwide, spark curiosity and debate about their taste. Often seen as a healthier alternative to traditional snacks, they come in various forms, …
Introduction to Pound Cake Perfection Pound cake, a beloved classic, has delighted taste buds for centuries with its simple yet irresistible charm. At the heart of its allure is the …

Introduction Rice cakes, those delightful, versatile snacks that come in various shapes, sizes, and flavors, have become a staple in many households. Whether enjoyed as a light snack or a …
In the vibrant snack world, rice cake chips have emerged as a new favorite, balancing indulgence with health. This journey delves deep into the phenomenon of rice cake chips, highlighting …