Easy Dinner Ideas: Quick and Delicious Meals for Busy Nights

When the end of the day rolls around, finding the time (and energy) to prepare a wholesome dinner can be challenging. That’s where easy dinner ideas come into play. Imagine …
Savor Delicious Dinner Recipes
Quick, easy, and mouthwatering dinner recipes on Recipes Plan! From hearty classics to innovative dishes, our step-by-step guides are perfect for busy weeknights or special gatherings. Turn every dinner into a memorable experience with Recipes Plan!
When the end of the day rolls around, finding the time (and energy) to prepare a wholesome dinner can be challenging. That’s where easy dinner ideas come into play. Imagine …
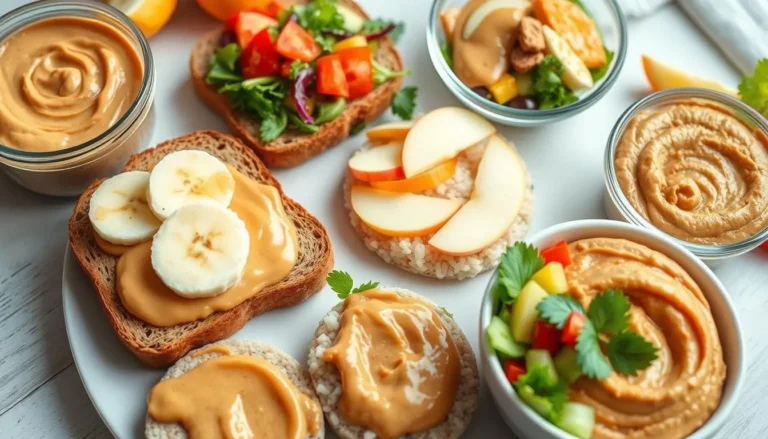
Peanut butter is more than just a lunchbox classic. It’s a versatile ingredient that adds flavor to many dishes. From savory meals to sweet treats, P.B makes every meal special. …
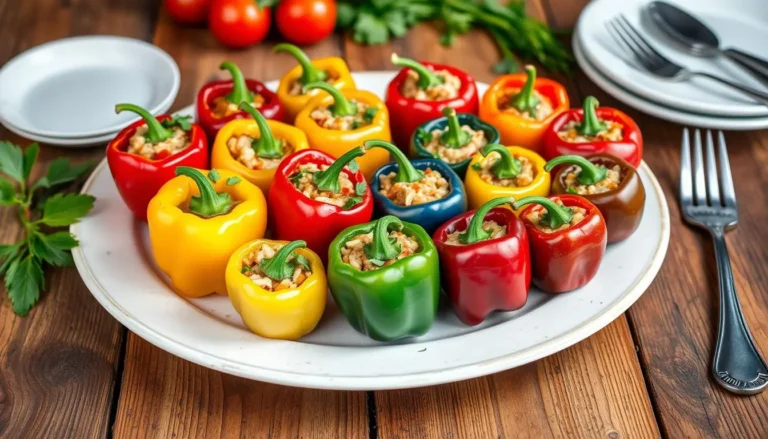
Stuffed mini peppers are a hit at any party. They’re small but full of flavor. Perfect for any event, these peppers are a crowd-pleaser. They’re easy to make and can …

Families today want meals that are quick and tasty. Chicken is perfect for this because it can be used in many different ways. These 30-minute chicken recipes are great for …
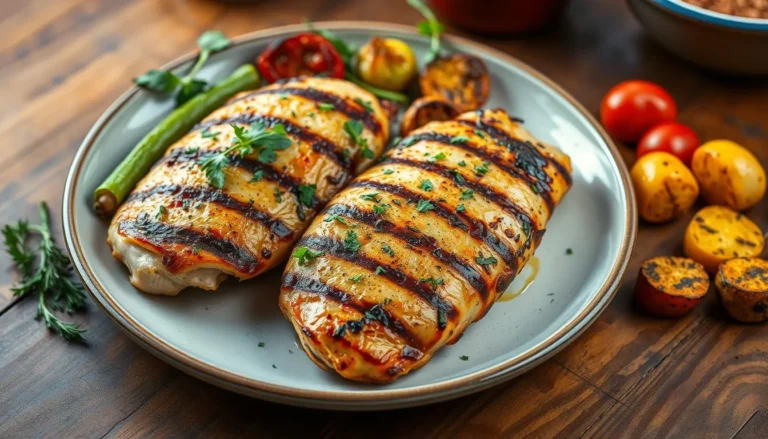
Chicken breasts are a great source of protein and can be made into many tasty dishes. This guide will help you improve your chicken cooking skills. You’ll find easy recipes, …
Weeknights can be chaotic, but you don’t have to give up on tasty meals. This article shares 15 quick and easy chicken breast recipes for busy families. You’ll find something …
Make your dinner table shine with our top homemade lasagna recipe. It’s a classic Italian dish that’s all about comfort and indulgence. With layers of tender pasta, rich meat sauce, …
Craving a hearty, flavorful chili but don’t have hours to spare in the kitchen? Look no further! This quick and easy homemade chili recipe is ready in just 30 minutes. …

If you’re from the Midwest, chances are you’ve heard of the beloved Minnesota Hot Dish. Known for its creamy, hearty texture and topped with crispy Tater Tots, this dish is …

The Origin of the BBQ Bacon Cheeseburger A Brief History of Burgers and Their Popularity Burgers have a long history, with origins tracing back to Hamburg, Germany, where minced beef …