Delicious Keto Recipes: Easy Low-Carb Dishes for Everyone

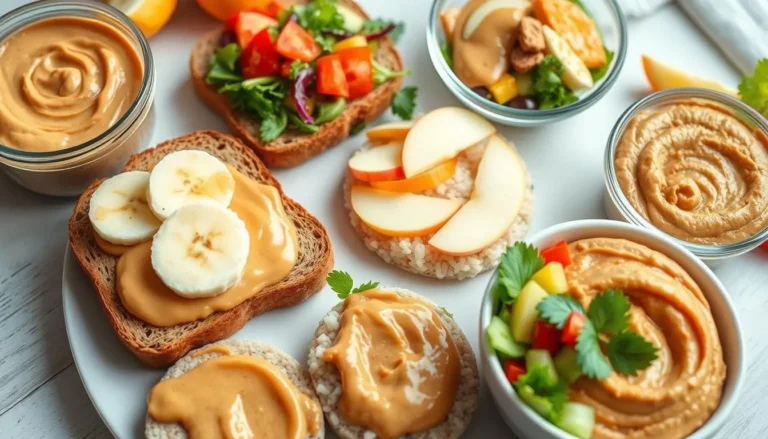
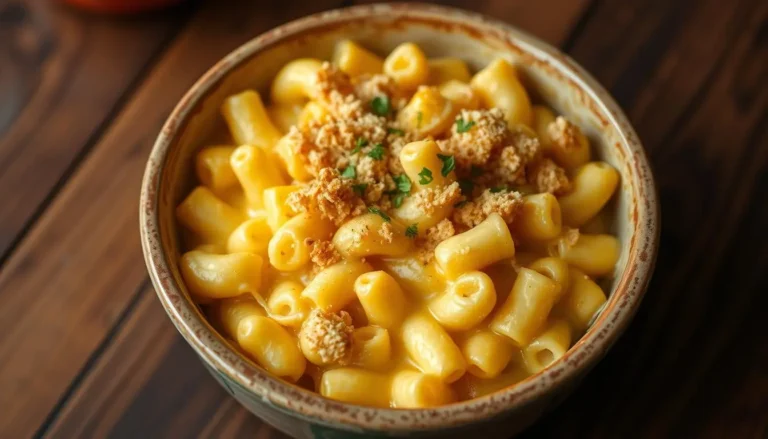
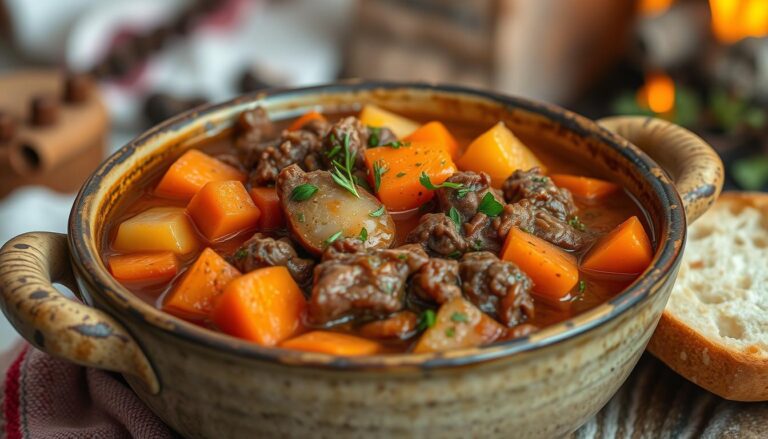
If you’re looking to embrace a ketogenic lifestyle, it’s essential to have a repertoire of tantalizing keto recipes at your fingertips. These low-carb dishes not only satisfy your cravings but …