Creamy Sweet Coleslaw Recipe: A Classic Side Dish
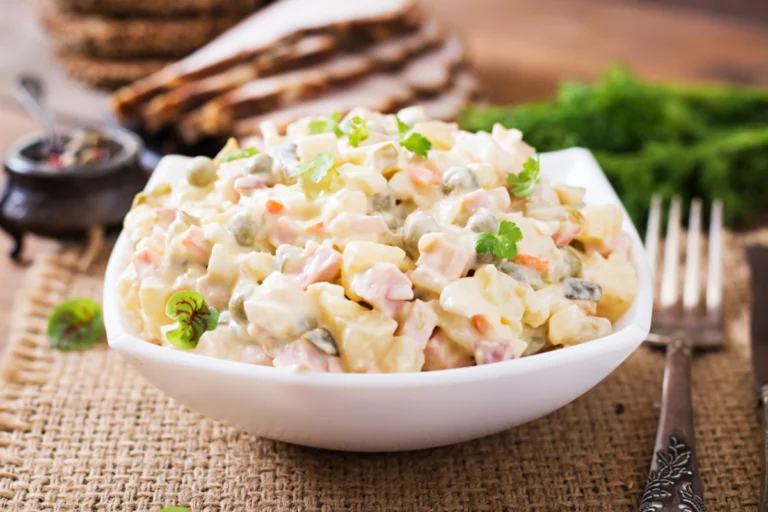
Introduction to Creamy Sweet Coleslaw Creamy Sweet Coleslaw is a refreshing salad made with shredded cabbage, carrots, and a sweet, creamy dressing. The combination of crisp vegetables and smooth, tangy …