15 Easy Chicken Breast Recipes for Busy Weeknights
Weeknights can be chaotic, but you don’t have to give up on tasty meals. This article shares 15 quick and easy chicken breast recipes for busy families. You’ll find something …
Weeknights can be chaotic, but you don’t have to give up on tasty meals. This article shares 15 quick and easy chicken breast recipes for busy families. You’ll find something …
Make your dinner table shine with our top homemade lasagna recipe. It’s a classic Italian dish that’s all about comfort and indulgence. With layers of tender pasta, rich meat sauce, …
French toast is a breakfast classic that always delights. It’s perfect for both seasoned cooks and beginners. This recipe will make your mornings better with golden, custard-filled slices that feel …
Start your day with a stack of homemade, fluffy pancakes. This easy recipe will make your morning meal as good as any breakfast spot. Enjoy the joy of making a …
Craving a hearty, flavorful chili but don’t have hours to spare in the kitchen? Look no further! This quick and easy homemade chili recipe is ready in just 30 minutes. …
The classic meatloaf is a beloved comfort food that has been a staple for many families. If you’re looking for a recipe that always turns out juicy and flavorful, you’ve …
Indulge in the timeless delight of homemade chocolate chip cookies with this classic recipe. It delivers the perfect balance of crispy edges and soft, gooey centers. These cookies are a …
Easy Banana Bread Recipe: Perfect Every Time Starting with homemade baking can be both exciting and scary, especially for beginners. But don’t worry, this easy banana bread recipe is here …
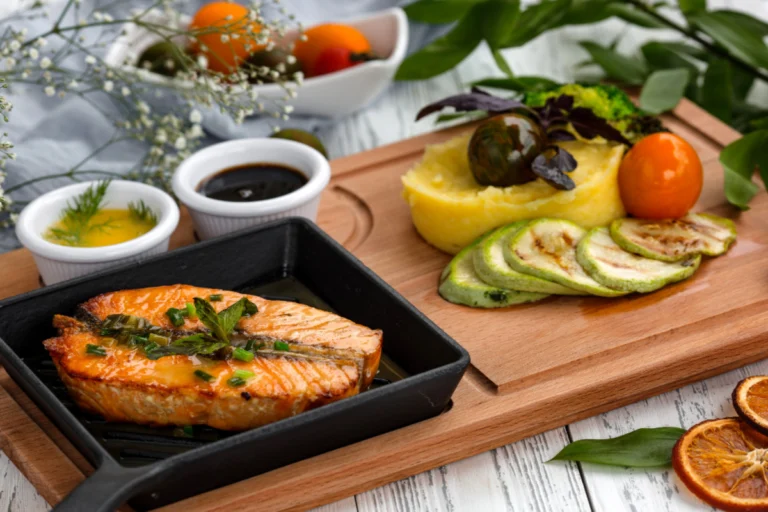
Make your mornings better with these tasty salmon breakfast recipes. Find a mix of dishes that show off salmon’s versatility. Enjoy everything from savory omelets and bagels to unique burritos …
If you’re from the Midwest, chances are you’ve heard of the beloved Minnesota Hot Dish. Known for its creamy, hearty texture and topped with crispy Tater Tots, this dish is …