Perfect Seasoning Salmon: Flavor & Cooking Tips

Introduction to Seasoning Salmon Salmon, with its rich, buttery flavor and versatile nature, provides a perfect canvas for a variety of seasonings. The right blend not only complements its natural …
Introduction to Seasoning Salmon Salmon, with its rich, buttery flavor and versatile nature, provides a perfect canvas for a variety of seasonings. The right blend not only complements its natural …
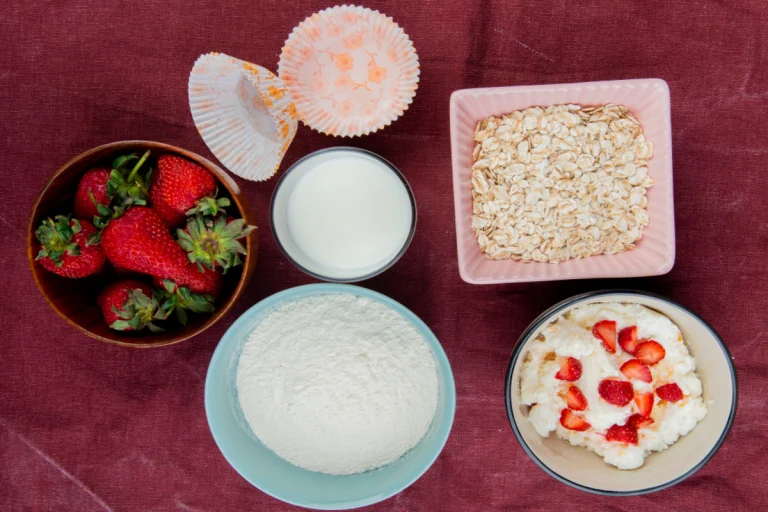
Introduction Blended cottage cheese is a versatile, nutritious dairy product that can elevate the taste and nutritional value of various dishes. From smoothies to main courses, its creamy texture and …

Introduction to Glazes Without Powdered Sugar Glazes add a beautiful finish and a sweet touch to various desserts, from doughnuts to cakes and pastries. However, not everyone can or wants …

Introduction to Boneless Wings Recipe Boneless wings have taken the culinary world by storm, offering a delicious and convenient twist on traditional chicken wings. Unlike their bone-in counterparts, boneless wings …
Introduction When it comes to maintaining a gluten-free diet, the challenge often lies in finding trusted brands that offer safe and tasty options. Among the plethora of choices, Boar’s Head …

Introduction Sushi bake has swiftly become a beloved dish for those who cherish the flavors of sushi but prefer it in a deconstructed, oven-baked form. This culinary innovation simplifies the …

Introduction Brown sugar glaze, a delightful concoction that effortlessly elevates any dish it accompanies, stands as a testament to the magic of simple ingredients transforming into something extraordinary. This article …
Introduction Banana bread is a beloved comfort food enjoyed by many, offering the perfect balance of sweetness and moisture. However, when topped with the right glaze, this classic treat transforms …
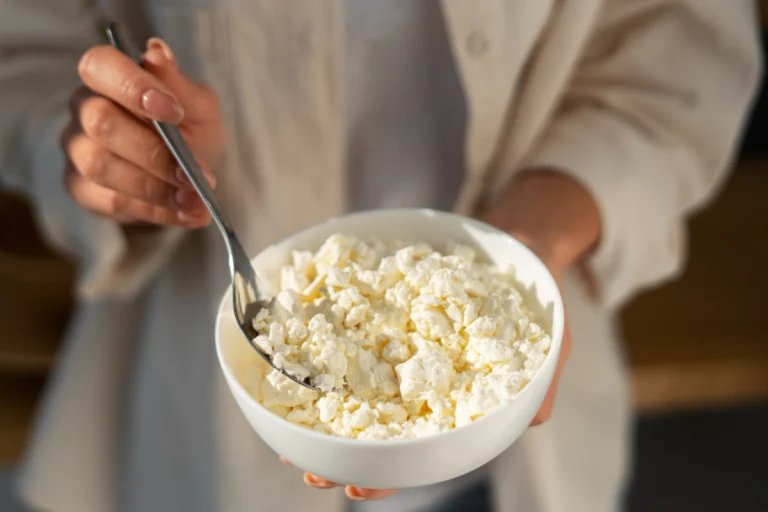
Introduction to Blended Cottage Cheese Recipes Blended cottage cheese is a culinary chameleon, capable of transforming dishes with its creamy texture and mild flavor. This guide explores the endless possibilities …
Introduction The ketogenic diet, known for its high-fat, moderate-protein, and low-carbohydrate approach, has gained immense popularity for weight loss and health improvement. Dairy products, often rich in nutrients, play a …