Patty Pan Squash Recipes: Flavorful & Versatile
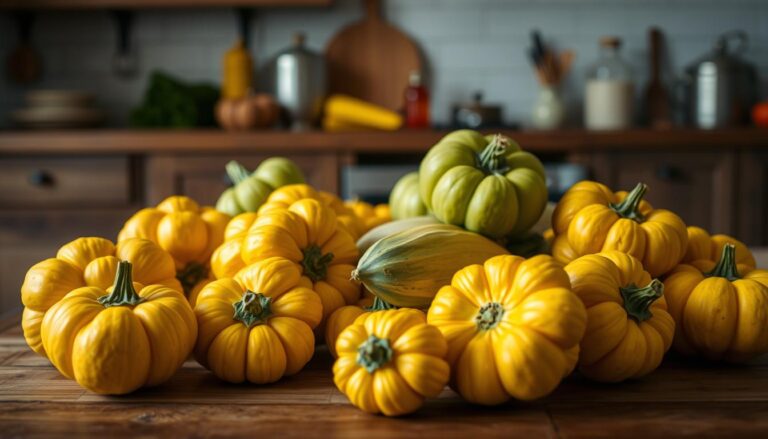
Discover the delightful world of patty pan squash recipes, where flavor and versatility come together in a culinary dance. This summer squash variety is a treasure trove of possibilities, from simple sautés to elaborate feasts. Edit Full screen …